In the previous post I showed how to set up a canvas and anchors to make UI stretch and scale just how you want them to. There’s treasure troves of information on the basic components (button, image, text) that you’ll need to learn after that so I thought I’d just drop some hints, tips and pit falls I’ve picked up whilst using Unity UI .
Event system
If you ever find yourself testing your interactive UI only to find nothing is responding not to worry! More than likely you’ll be missing an EventSystem component from your scene.

There’s a good chance this will have happened when you looked at the hierarchy, spotted a game object called EventSystem and said to yourself “What’s this? I don’t remember adding this….Probably don’t need it”. The event system is responsible for keyboard and mouse interactions with your UI. One will be added by default with a canvas object but can be added manually with UI->EventSystem.
Callbacks
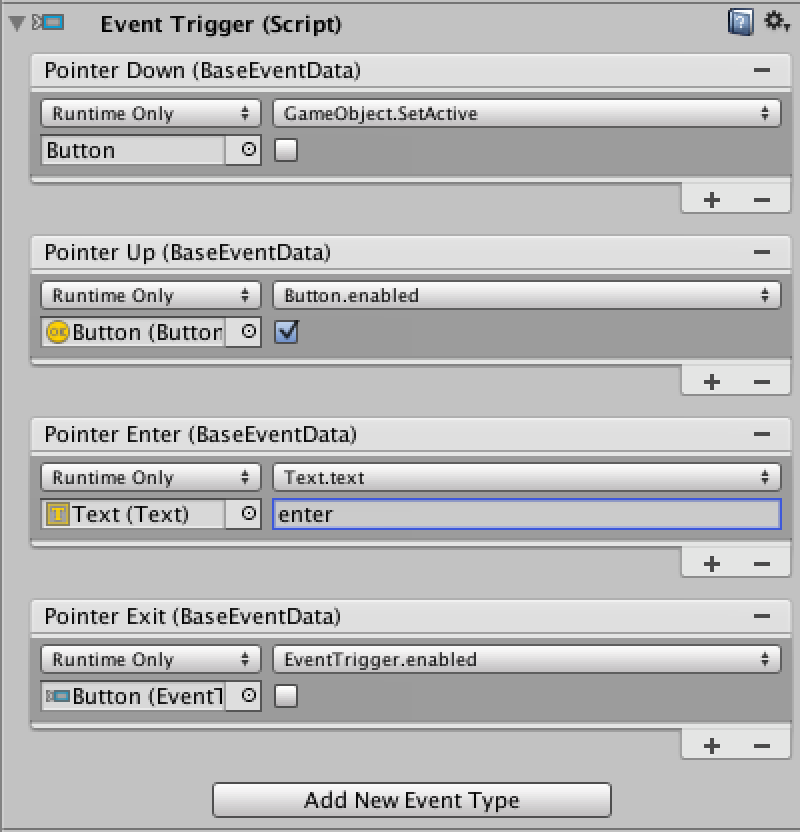
No doubt you’ll be used to using the OnClick callbacks on button components (pointer down then up on the same object) but did you know you can get more fine grained pointer events? I’m sure you’re sitting on the edge of your seat now. Adding an EventTrigger component to any UI object will give you access to PointerUp, PointerDown, PointerEnter, PointerExit, Drag, Scroll etc etc. This gives you the ability to react to a whole range of events happening with your UI components, go have a play!
Keyboard navigation
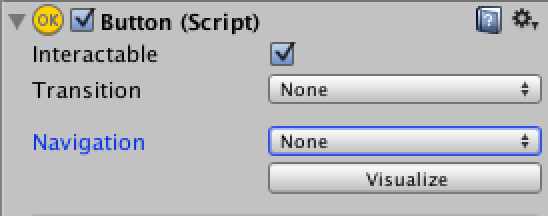
All your UI elements will be set up by default to respond to keyboard navigation. That’s pretty cool…if you want it. Without realising at first I’d been accidentally clicking buttons while trying to play my game. There’s a dead easy way around this, for any buttons that you don’t want to respond to keyboard input change the “Navigation” section of the button to none. This means that no matter which direction you move from neighbouring elements it won’t select this one.
Scroll rect
You won’t get far with a game on mobile without the need to scroll something or other.
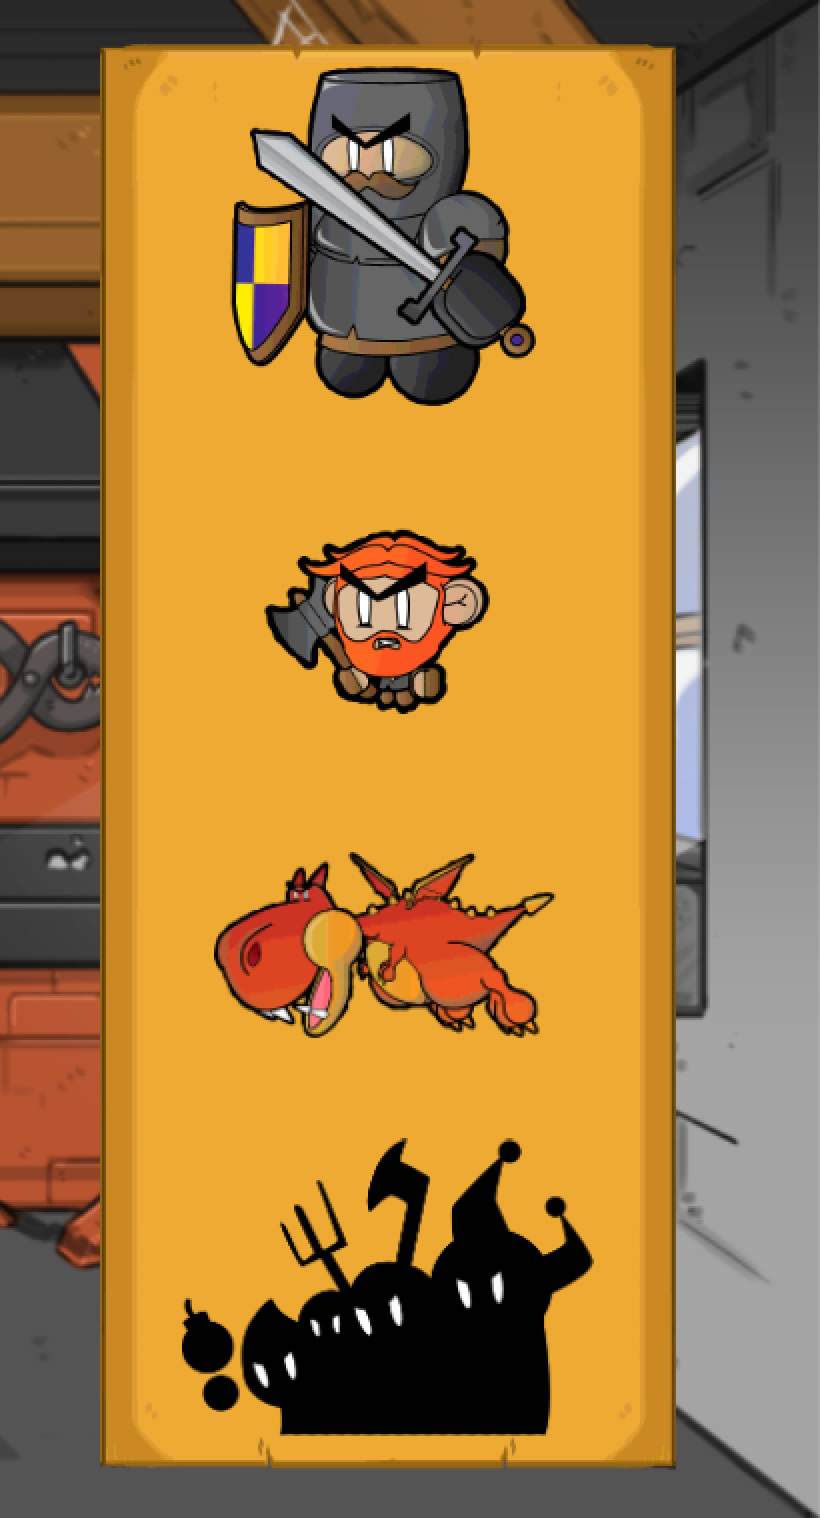
They see me scrolling…through this list of enemies
Here’s the simplest possible way to do that:
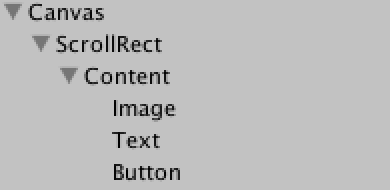
- Create an empty game object of the size you want your scroll window to be.
- Create a child of this object with a size you want the contents to be (bigger than the scroll window).
- Add all your content to the second game object and space it as you wish.
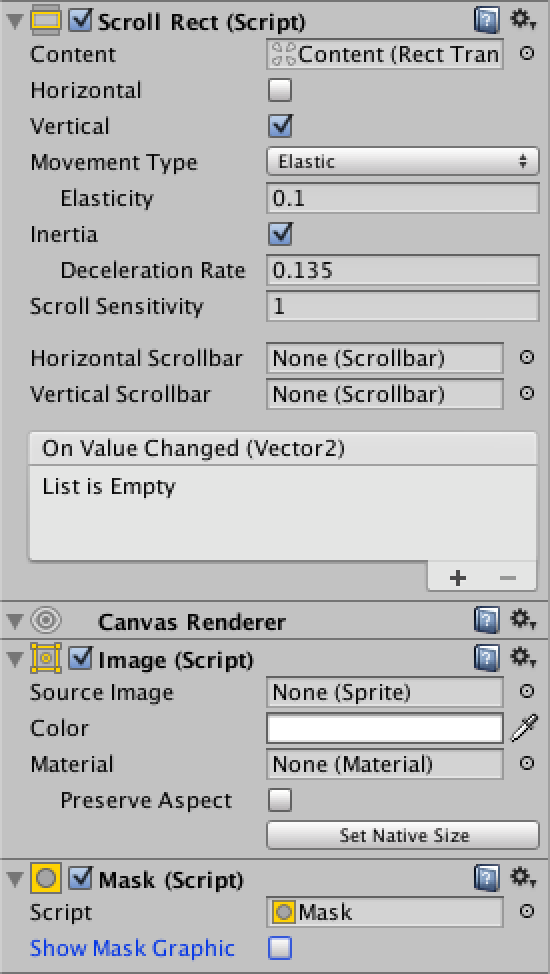
- Add a ScrollRect component to the scroll window game object and assign the “Content” field to the second game object.
This will have you up and scrolling. To make sure your content is only shown through the scroll window you’ll need to add a mask.
- Add an image component to the scroll window, leave the source field blank. When we’re done, anything overlapping this image will be visible.
- Add a mask component to the same game object and untick “Show Mask Graphic”. We only want to show content that overlaps with the mask image but don’t want to show the image itself.
Hopefully that’s just saved you several failed frustrated attempts at scrolling.
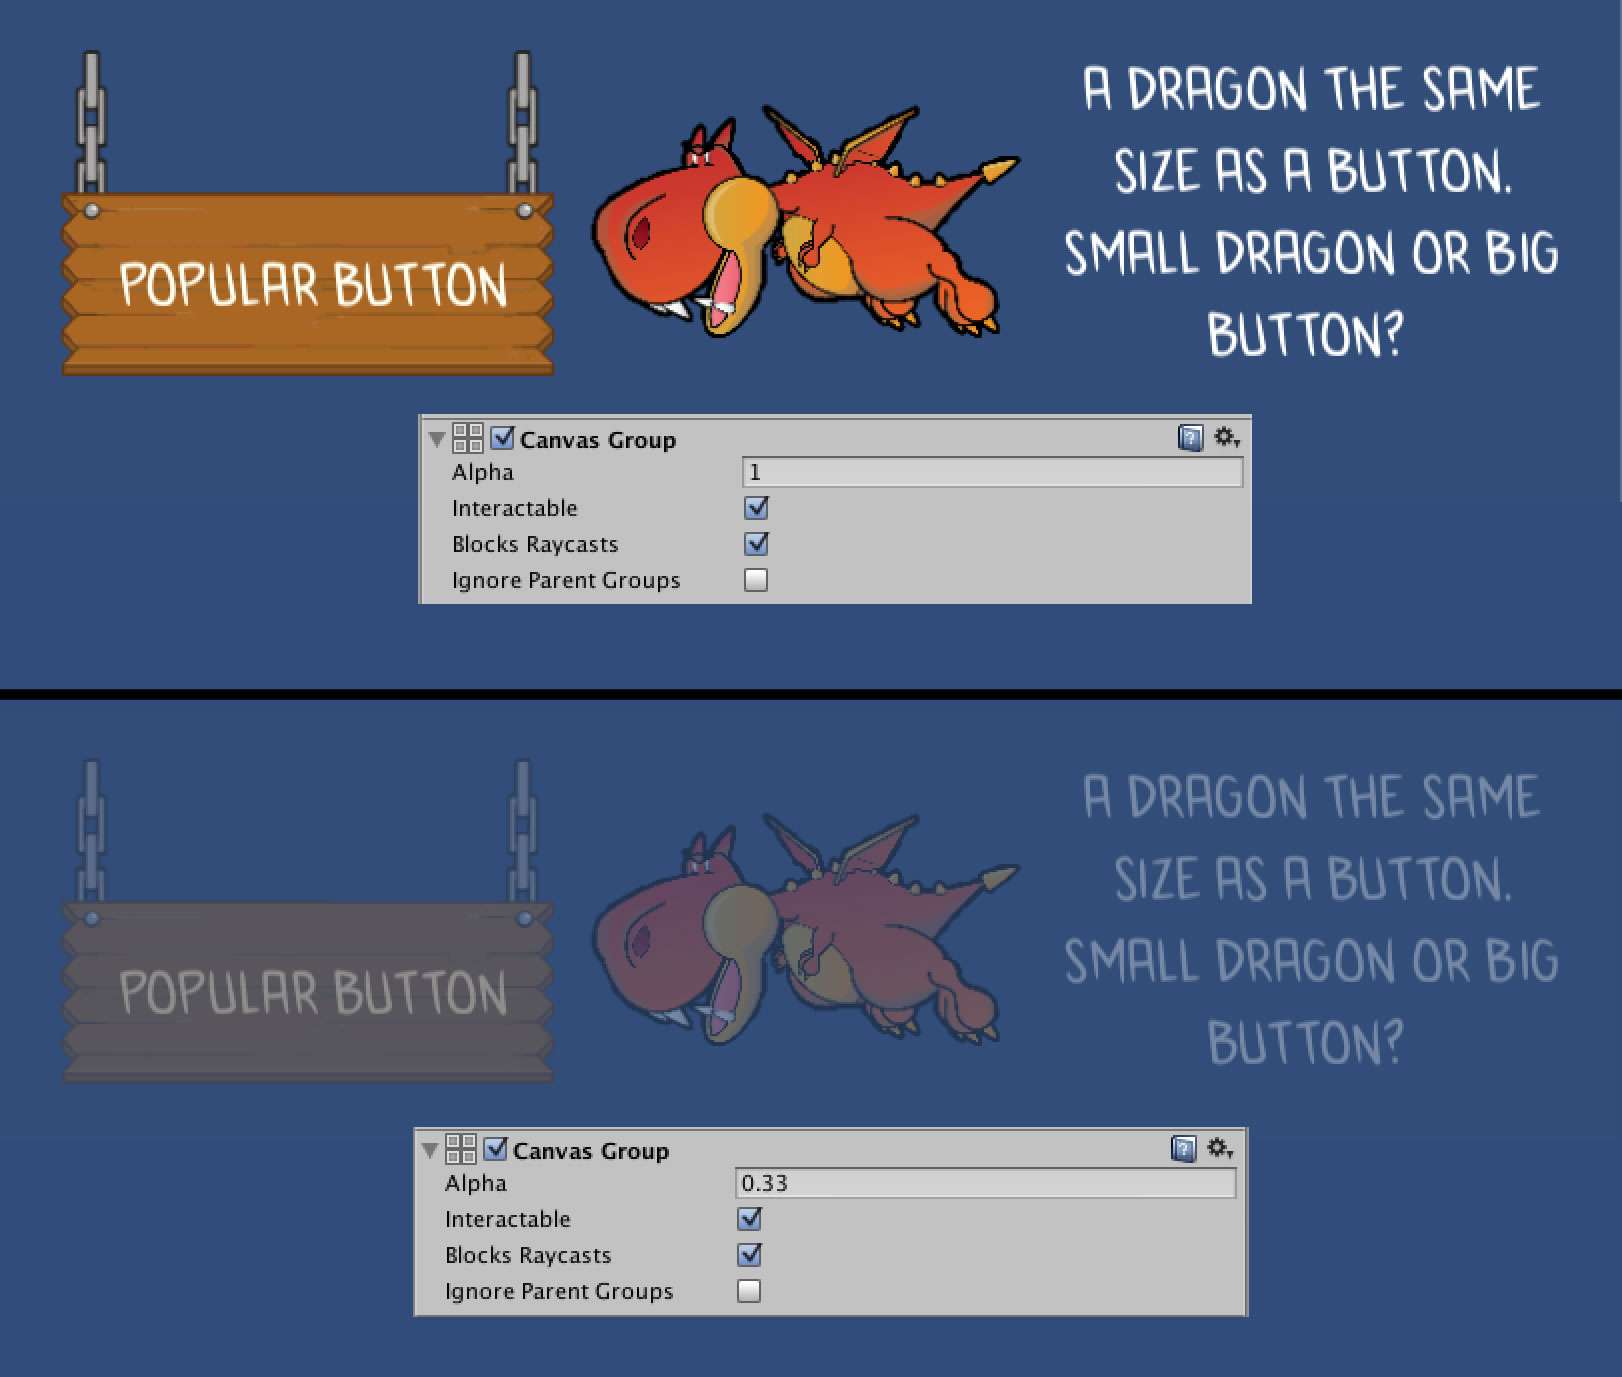
Canvas groups
Canvas groups can be a nifty little component to easily fade in/out a group of UI elements. Just throw this component on an object from a script and tweak the fade value. Much easier than traversing all children, figuring out their attached components and doing the same. Just as useful can be turning off “Blocks Raycasts” to stop the group being interactive. A good example of using this would be if a user pressed a button and you wanted to ever so nicely animate all UI off screen. Blocking raycasts on the canvas group after the first click will mean the user can’t interact with anything until you reenable this.
Although all the points above are dead simple they can be real time savers to know about and real time wasters when you don’t. If you’ve got any more to add yourself, drop a comment below.

See ya!
Comments
There are no comments yet. Be the first!